Few people know how to draw a car like Koichi Suga, the general manager of Lexus Design Division and the man tasked with guiding the design direction of all current and future Lexus products.
Throughout his 30 years in vehicle design, most of Suga-san’s ideas have been brought to life in the most traditional way. Because for him, nothing compares to the core skill of putting pen to paper. He enjoys the level of creativity that this simple and most accessible medium allows.

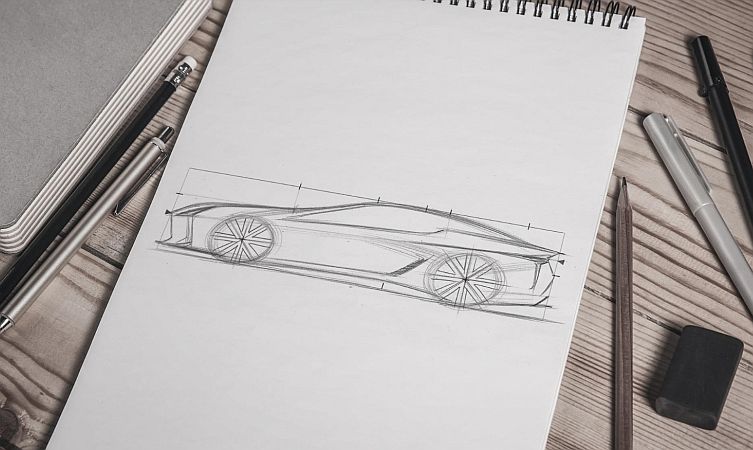
“People think that the skill is unique and specialised, but I tell them that anyone can learn to draw and enjoy it as a wonderful free-form expression,” he revealed. And to prove that fact, Suga has put together a simple, step-by-step tutorial in drawing that most award-winning of Lexus designs, the LC flagship coupe. This is therefore your chance to enjoy a drawing masterclass with a world leader in the field of vehicle design.
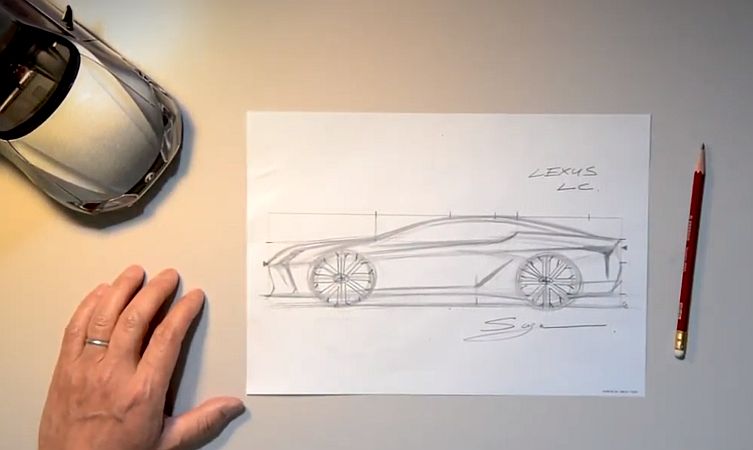
The video below is introduced and narrated by Suga, and shows the process of drawing the sleek profile of a Lexus LC from start to finish. Afterwards, scroll down for a written, step-by-step guide on how to draw a car.
How to draw a car: a step-by-step guide
Step 1: Start by clicking this link to download and then print the high-res Lexus LC template (as indicated below) for your sketch.
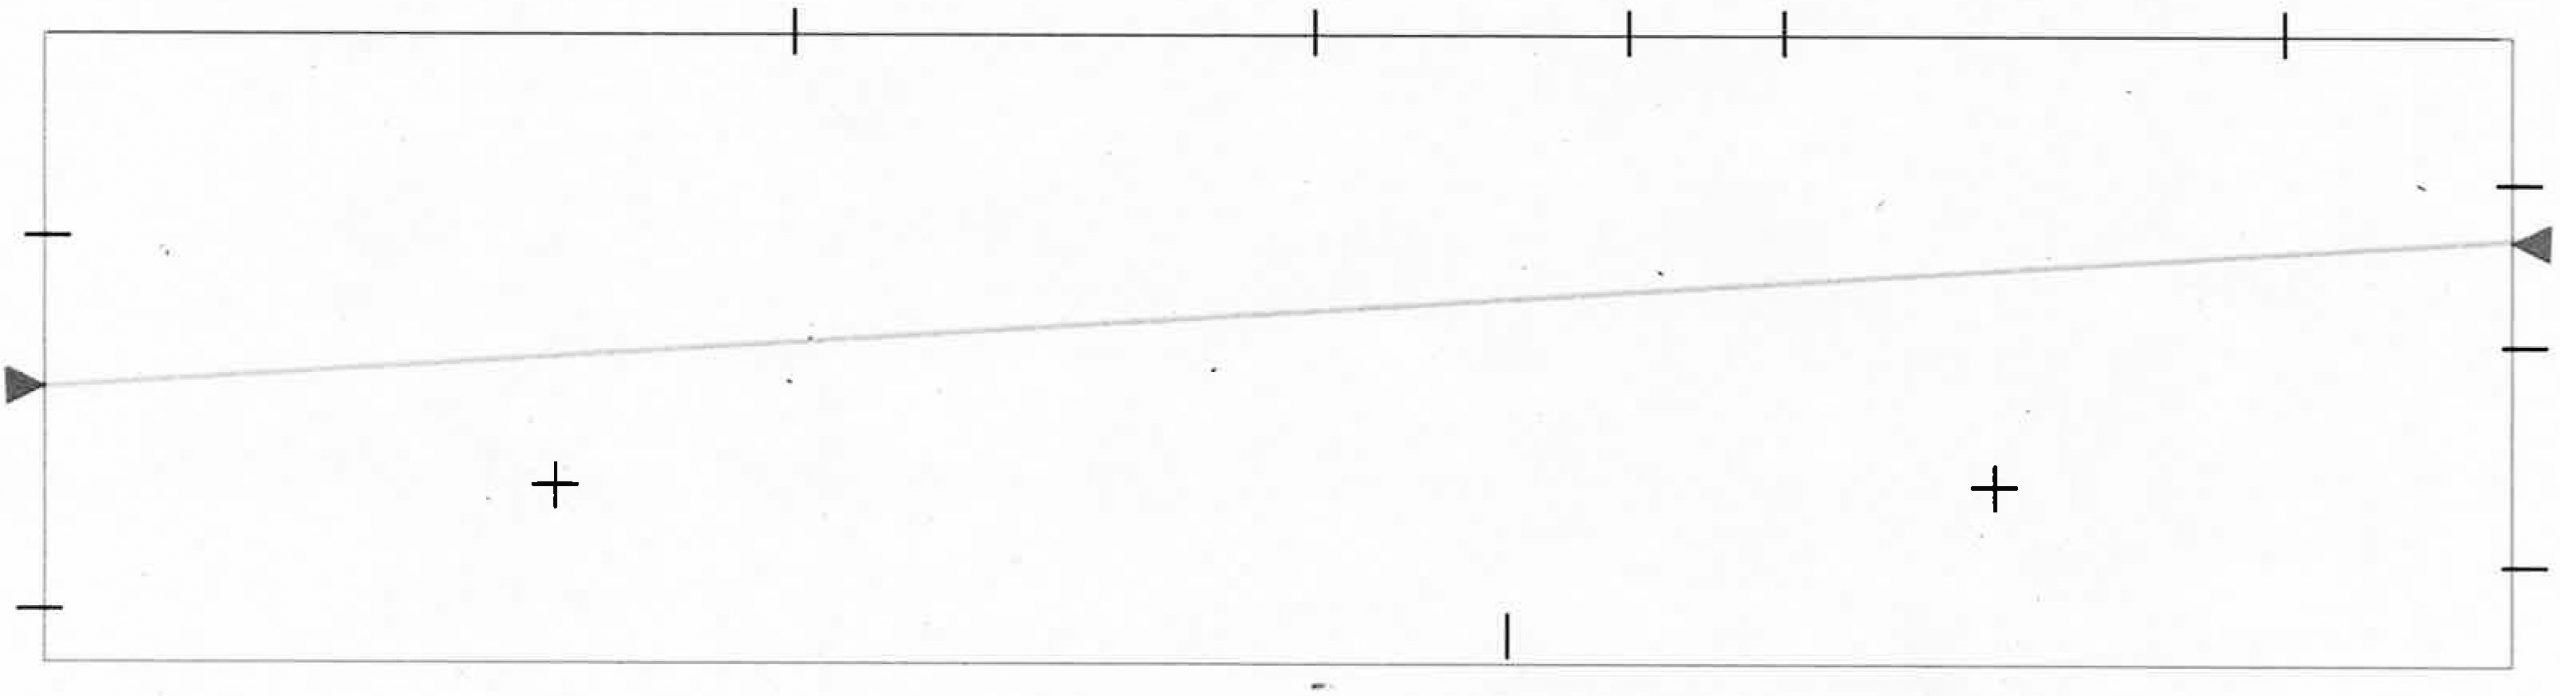
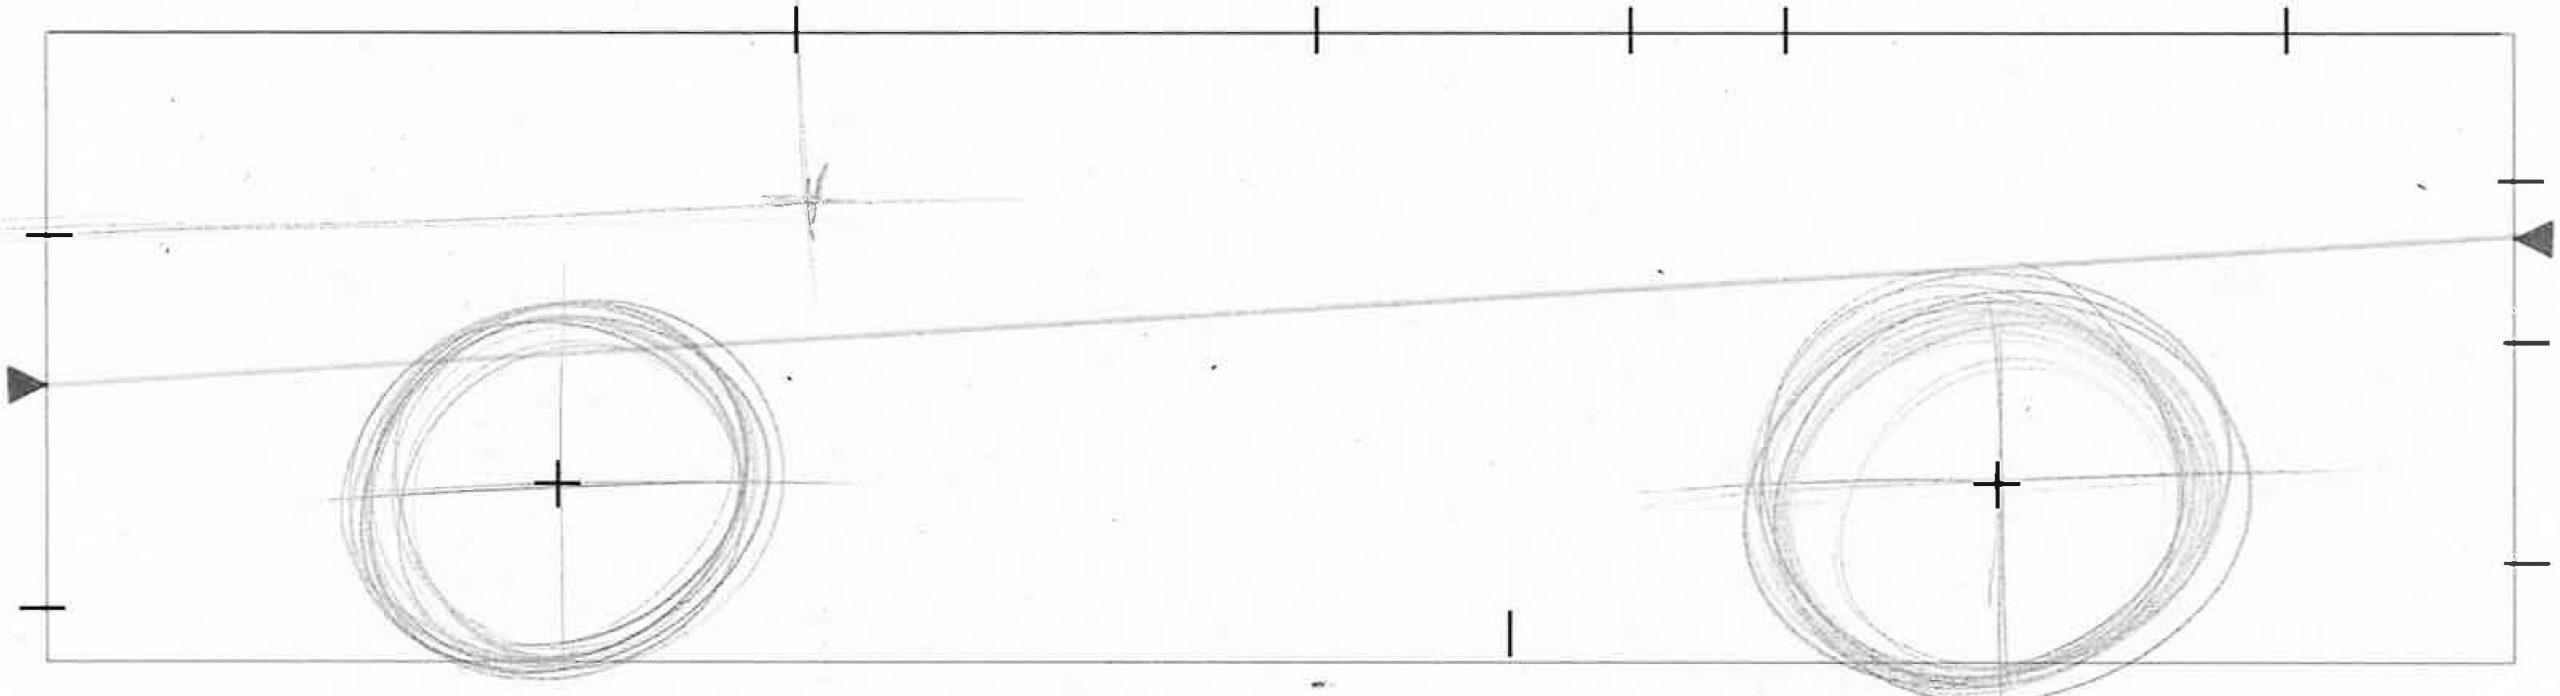
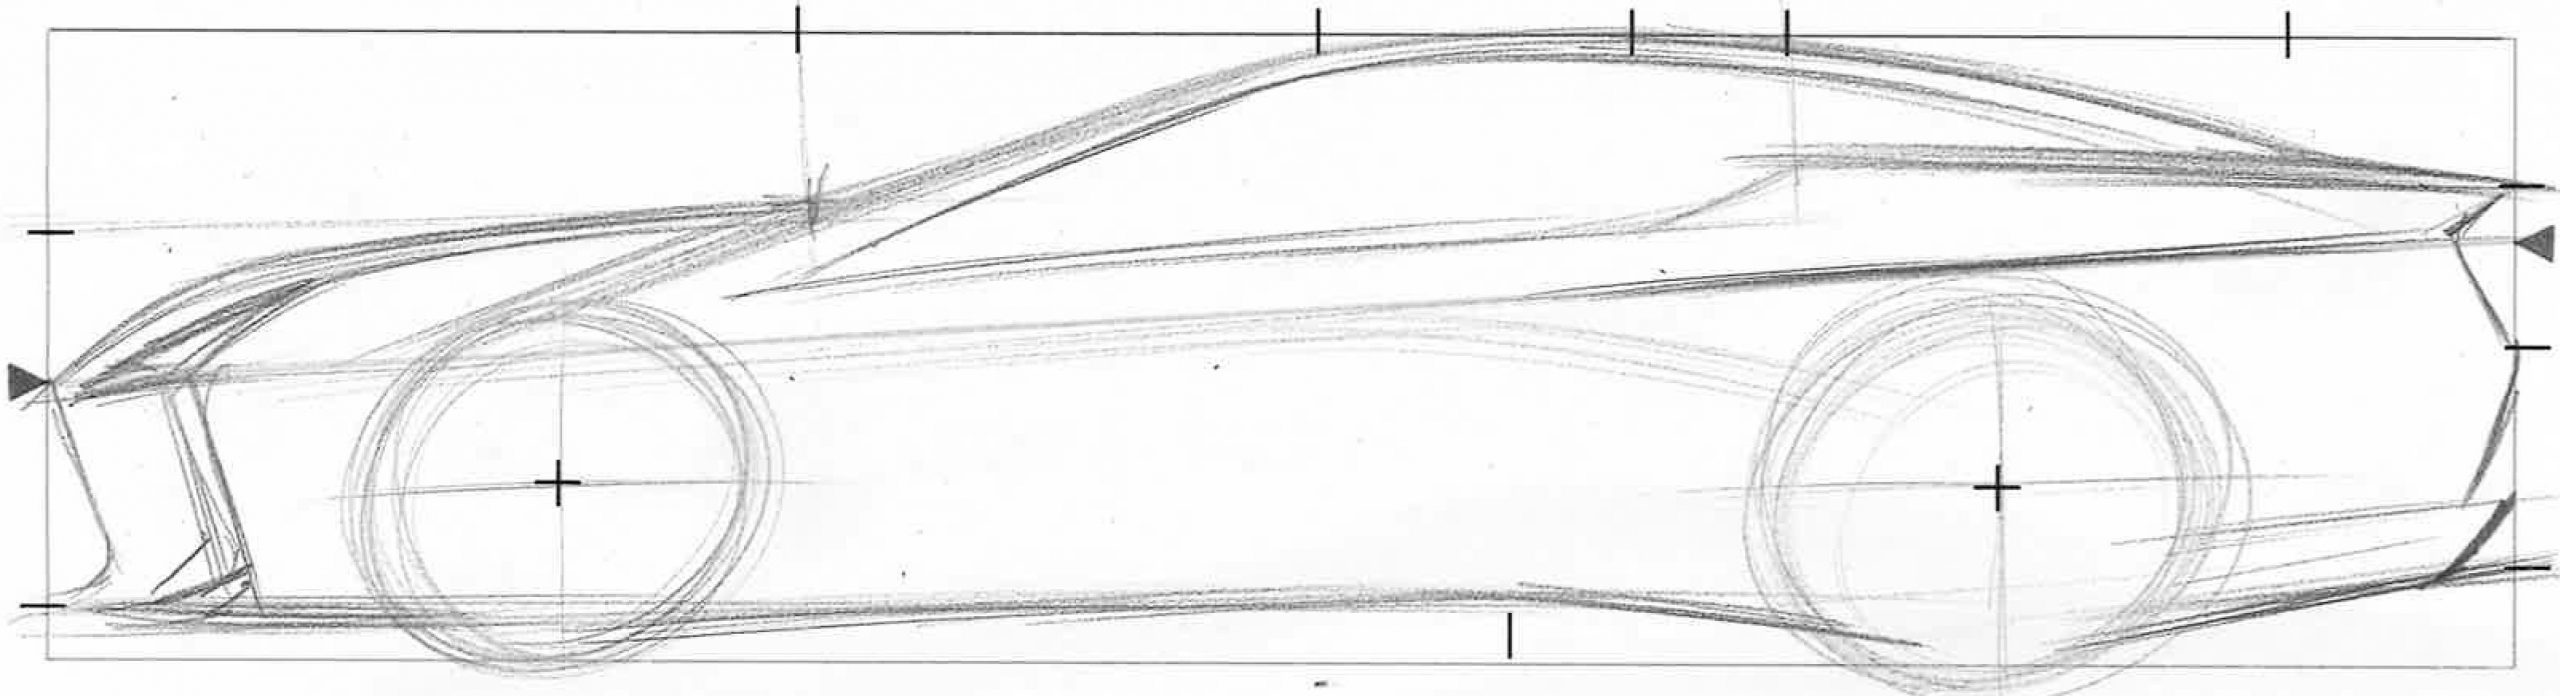
Step 2: Start by drawing a vertical and horizontal line for each of the wheels. Sketch in two circles, making sure the wheels touch the ground line at the bottom of the template. From the upper left marker, draw a faint horizontal line that meets with a faint vertical line from the first marker at the top of the template. Mark the point where these two lines intersect.
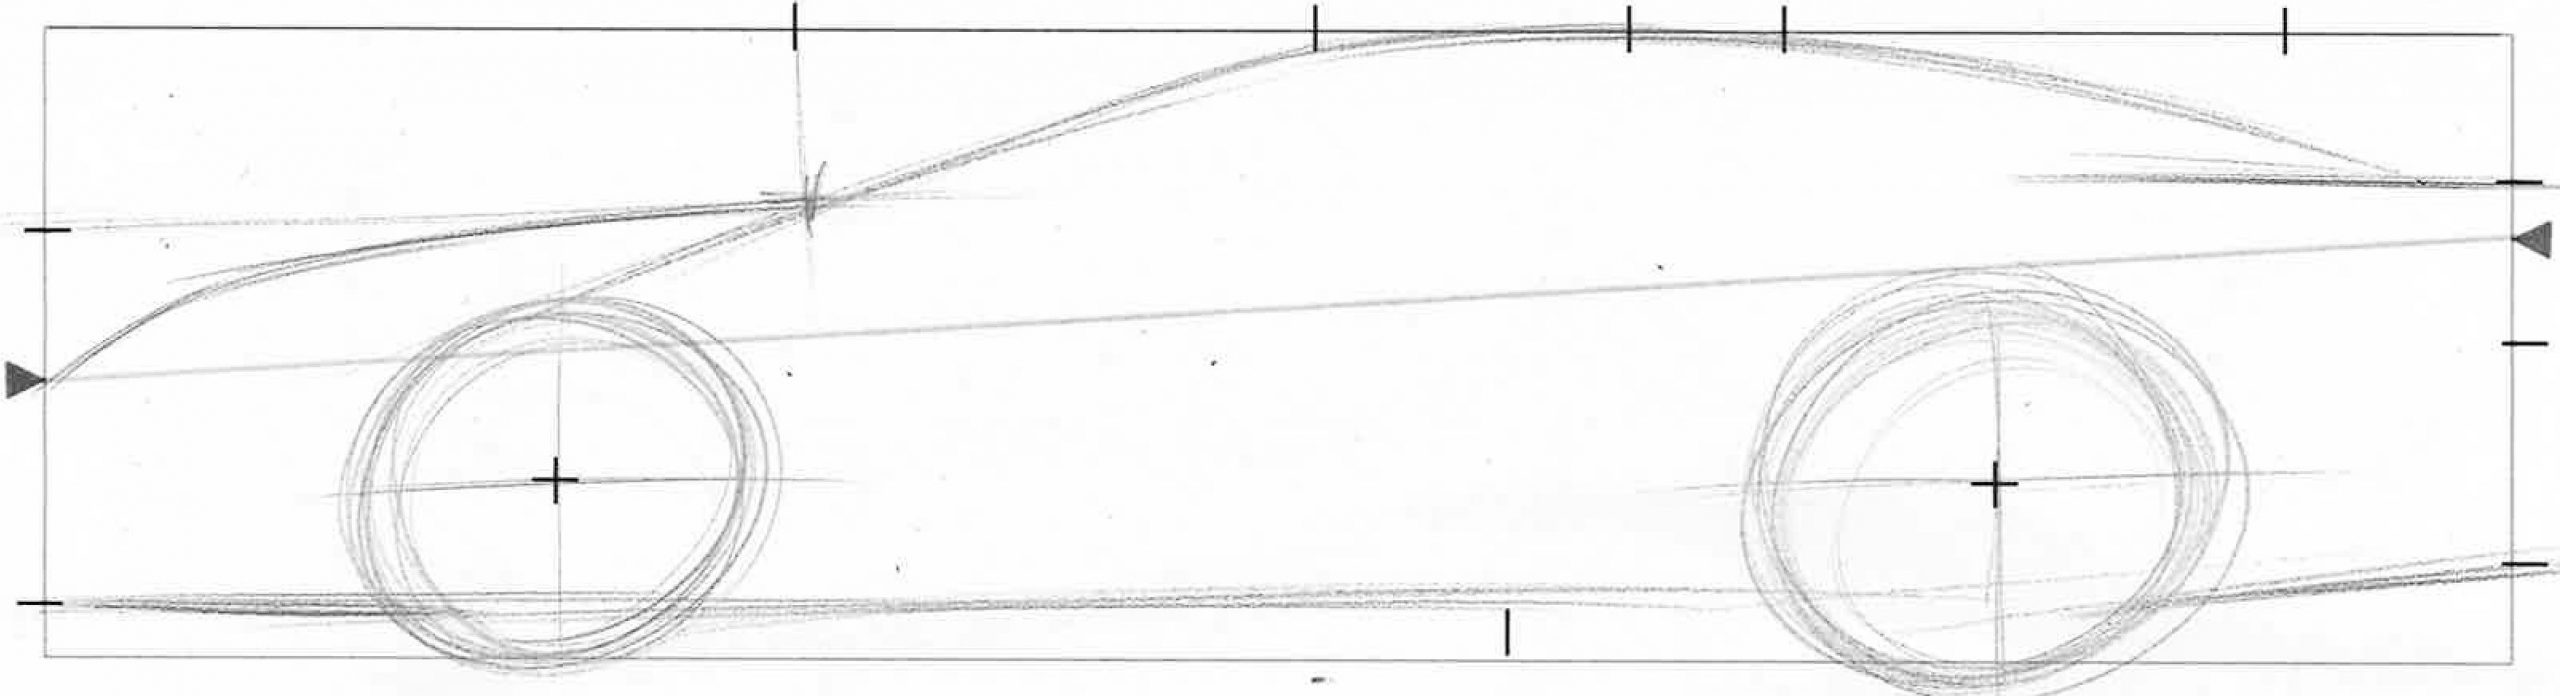
Step 3: Sketch the shape of the bonnet from the left triangle marker to the point on the intersection, and then continue sketching the windscreen and roof using the markers at the top of the template. Continue the line into the rear screen and across the top of the boot lid. Indicate the bottom of the car by connecting the two lower markers.
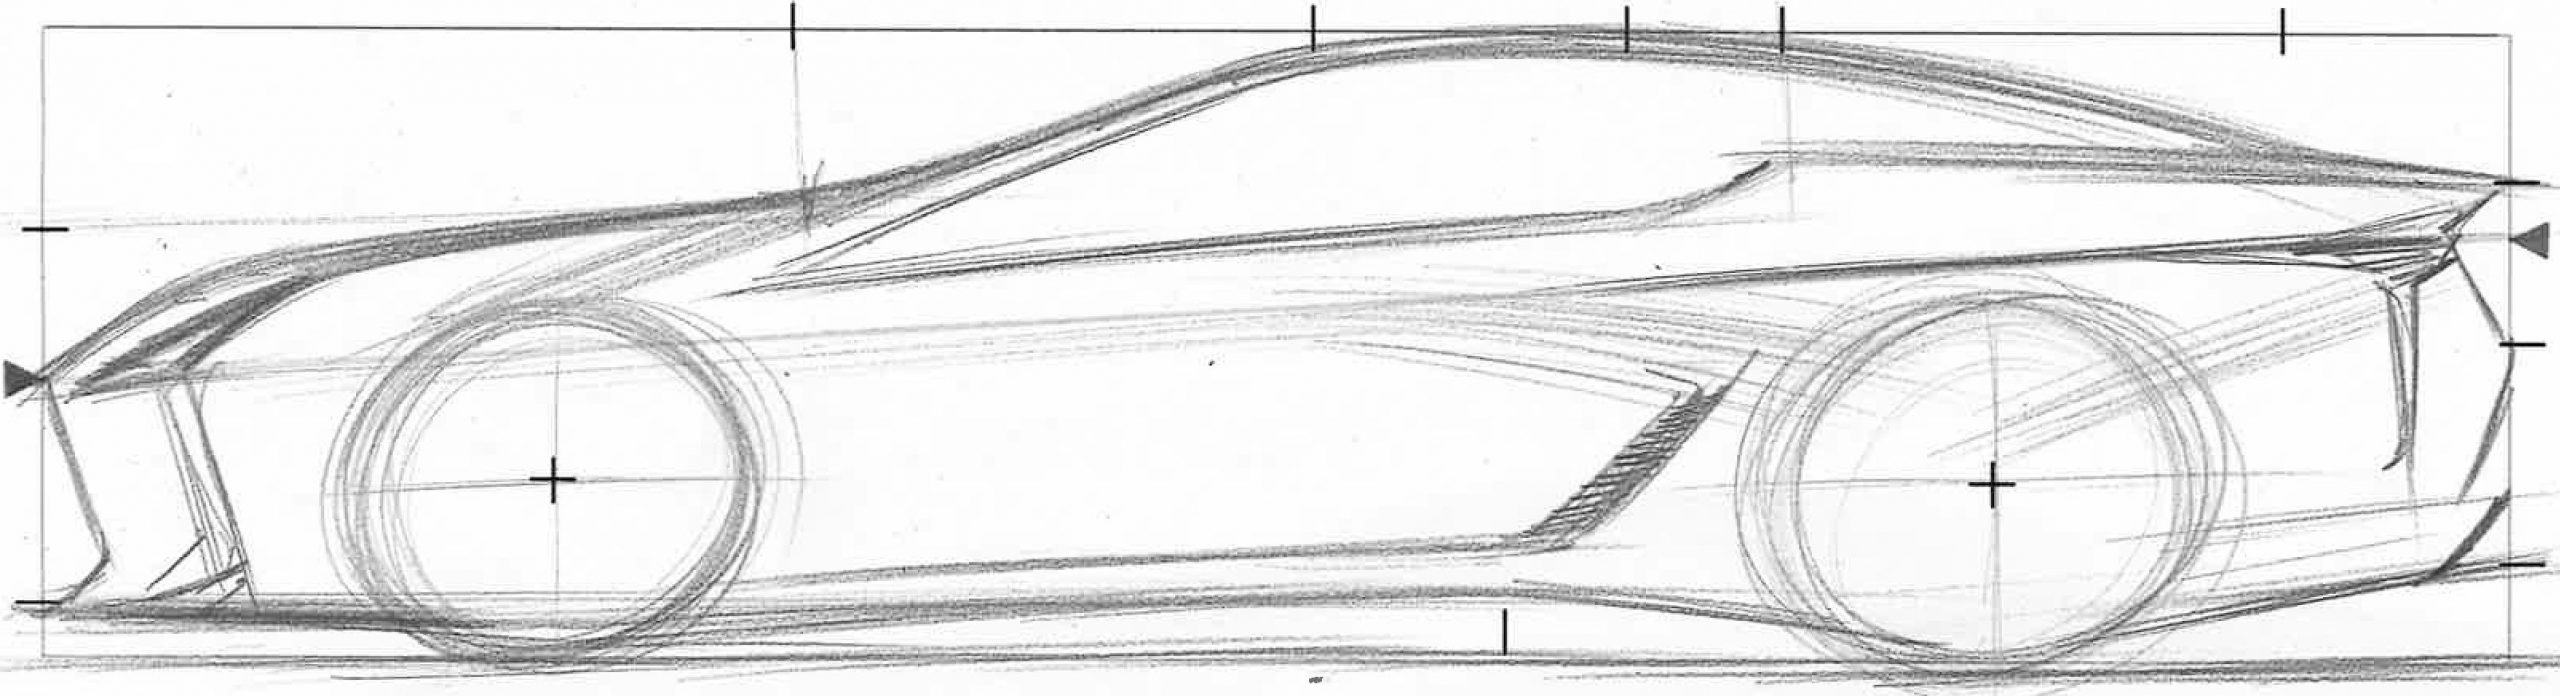
Step 4: Draw a line that connects the two triangle markers to create the main axis for the body of the LC. Use the axis line and markers on the right side of the template to complete the rear of the car. Sketch in the basic shape of the headlights. Draw a straight, rising window line from below the upper left marker to a point below the third marker on the top of the template. From there, create the curved lower shape of the rear quarter light by angling the line upwards towards the fourth marker, before scribing a straight line into the boot.
Step 5: Sketch the basic shape of the rear lenses from the rear of the axial line. Create the shape of the lower character line by sketching a gently rising line from the left, by the front wheel, until it is above the marker at the bottom of the template. Then curve that line upwards at a 45-degree angle to create the air intake.
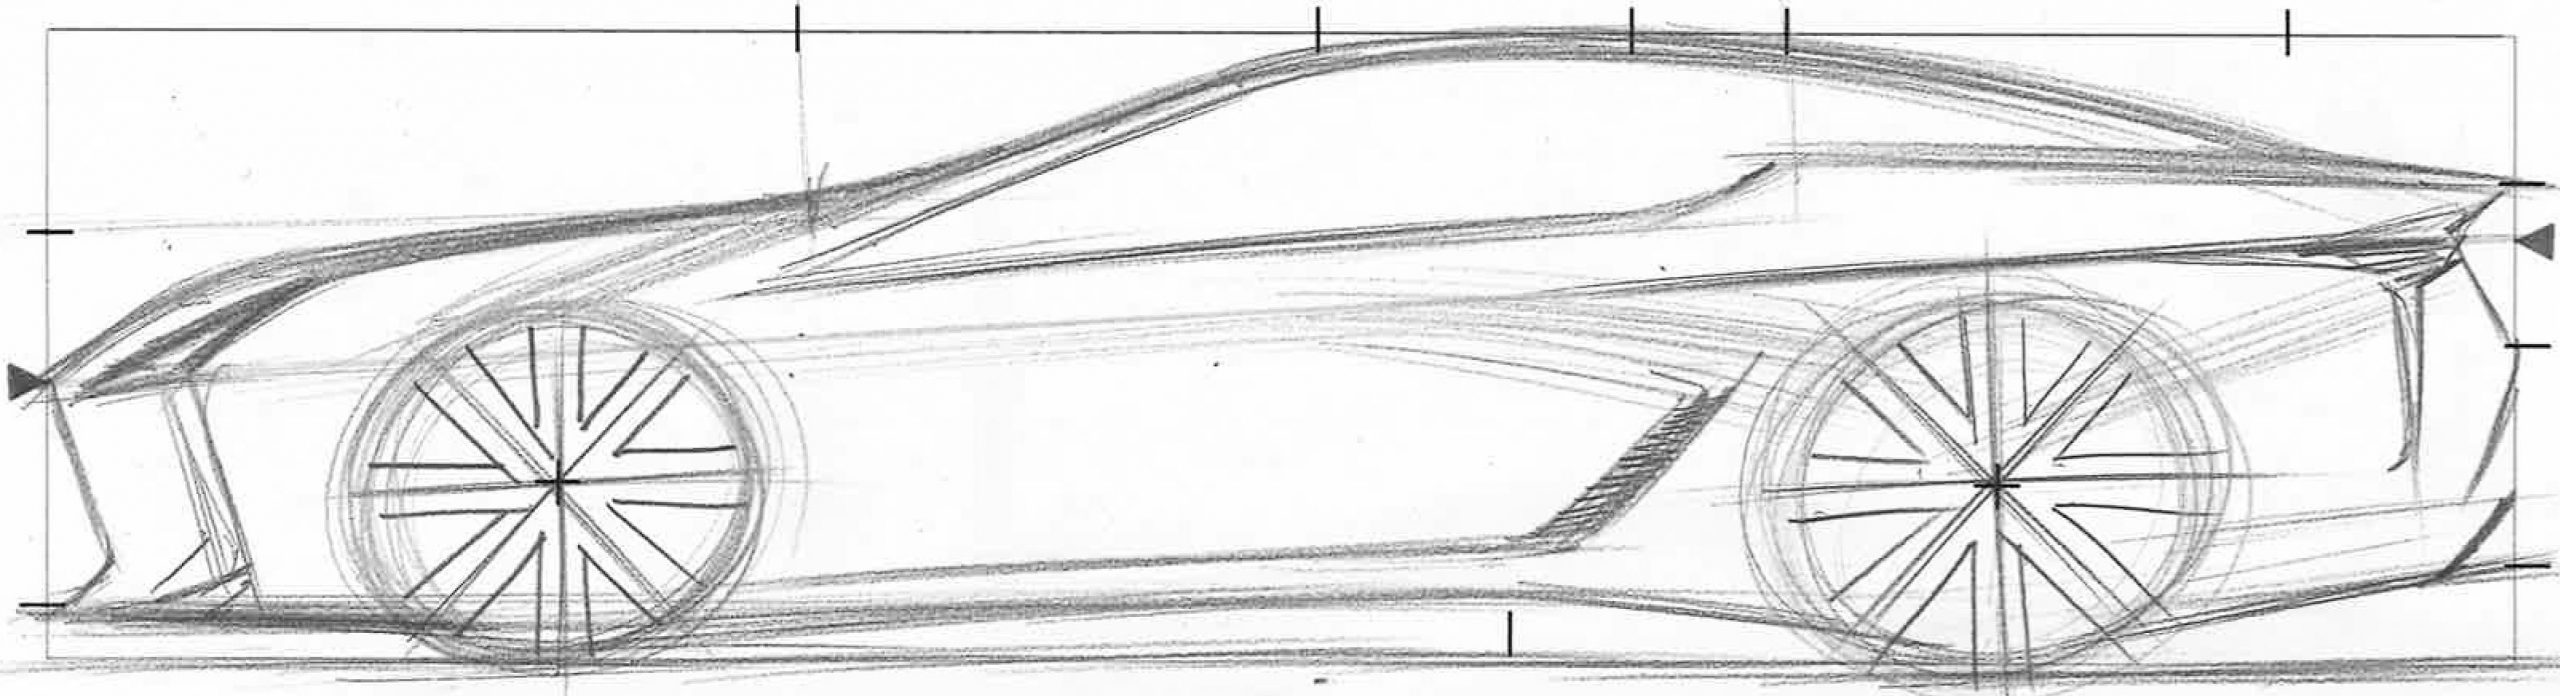
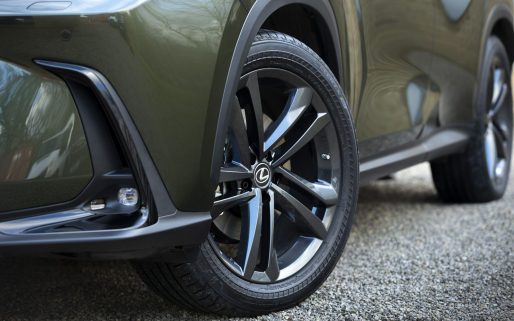
Step 6: Divide the wheels into four equal segments, then divide each quarter to make eight equal sections. Sketch in the spoke design with sharp, straight lines.
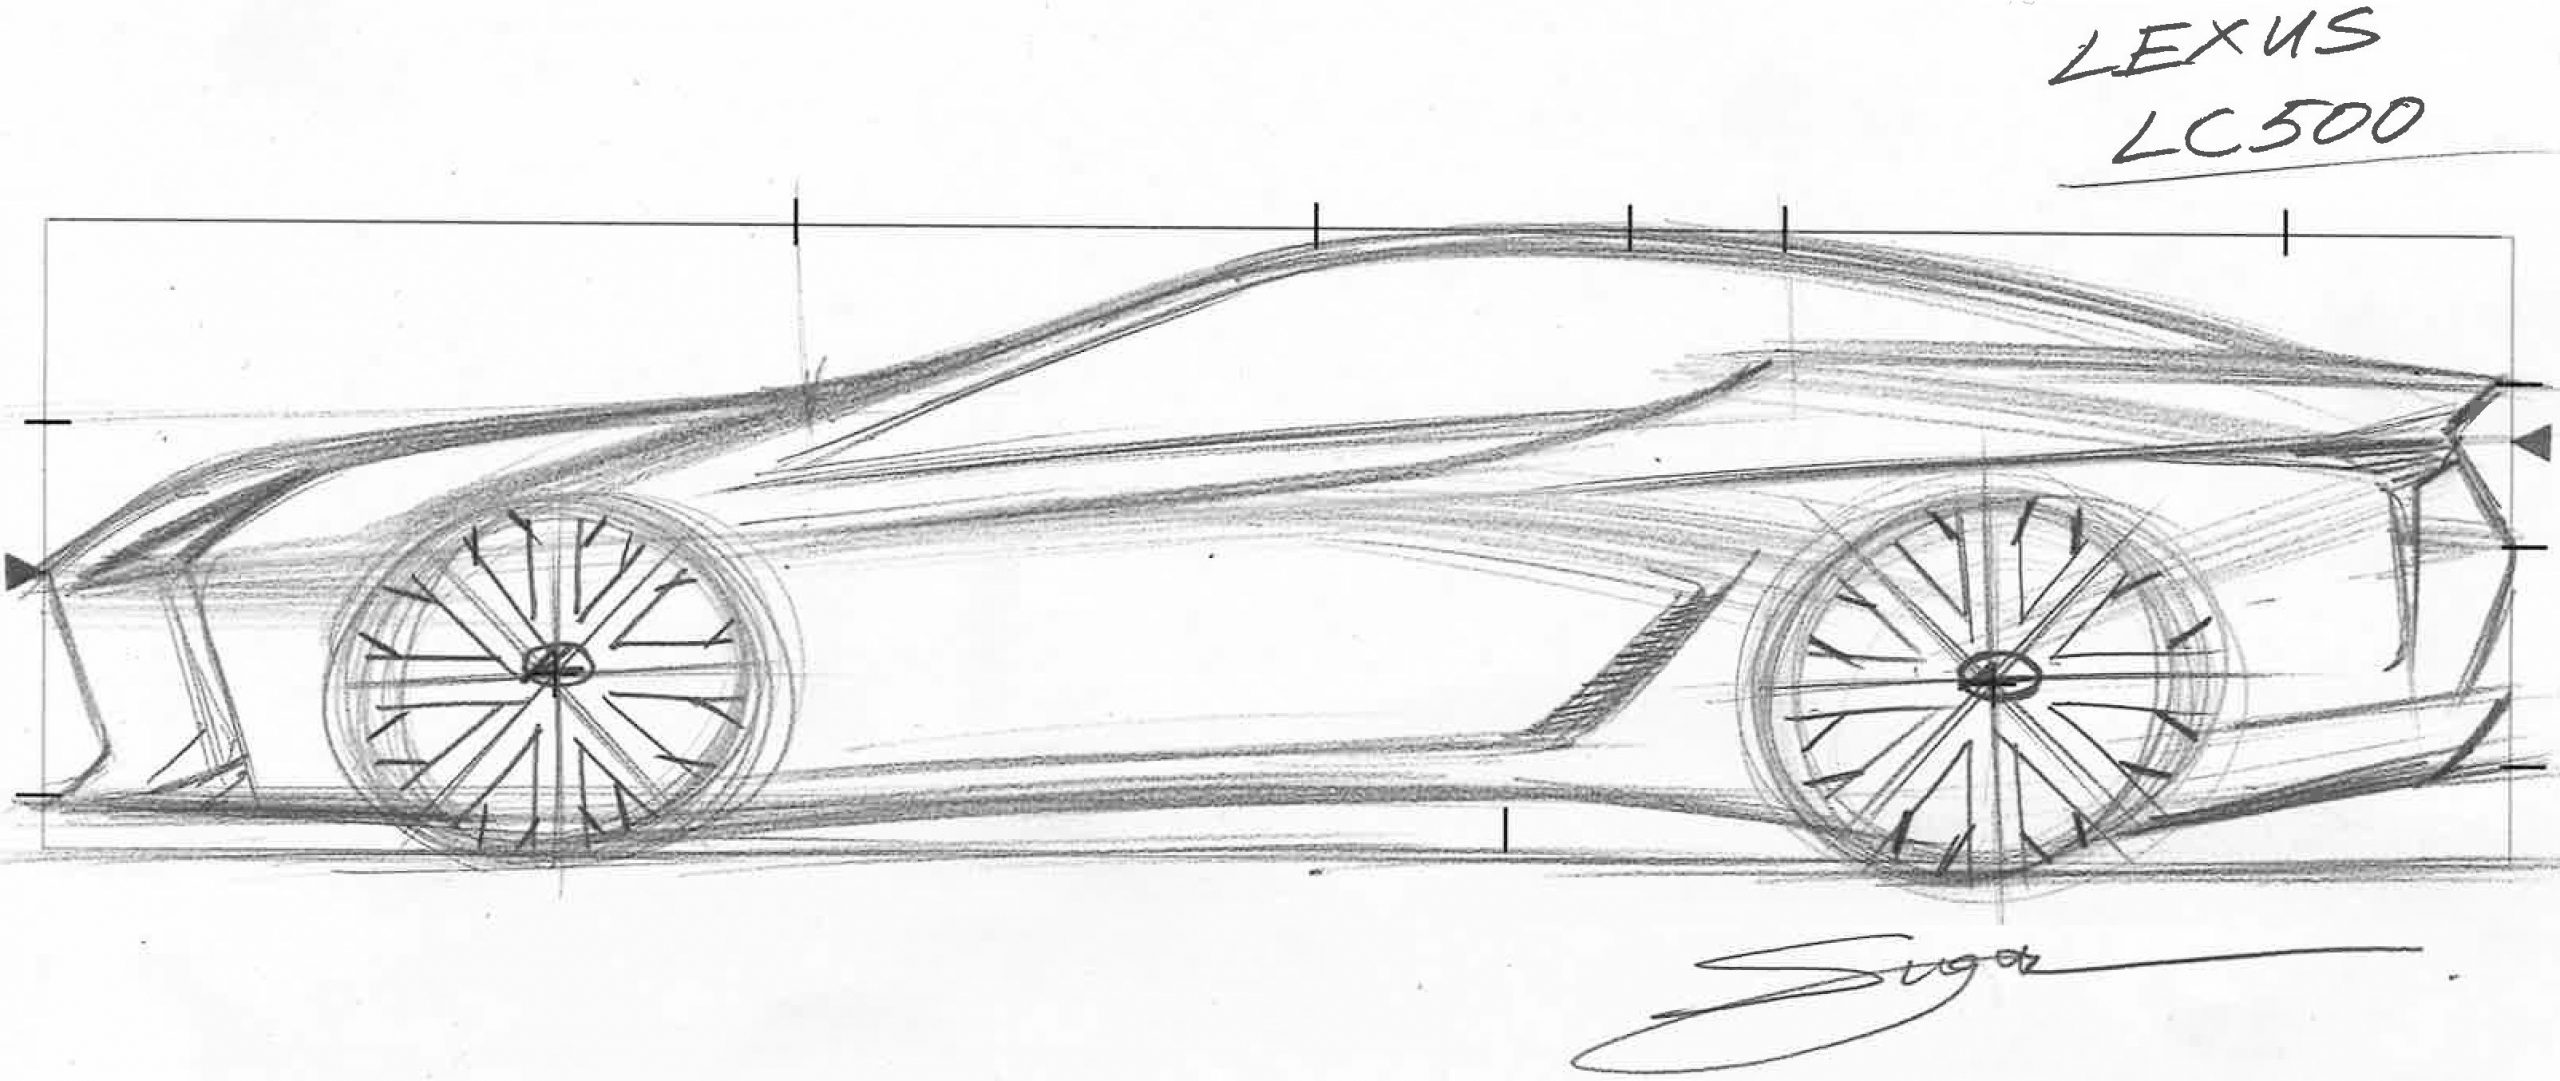
Step 7: Add extra detail to the wheel design and draw the Lexus ‘L’ motif in the centre of each wheel. Strengthen the outer shape of the wheel and accentuate key design lines as well as lightly suggest curvatures across the vehicle body. Finally, title your sketch and sign it at the bottom.
Step 8: Share your sketch on social media, using the hashtag #LexusCreates. You never know, Koichi Suga could see it!
Learn more: Koichi Suga: “We’re always searching for new, unique styling elements”


Best lc500 sketch 👌 I’ve seen.