Cars are our second most valuable possession, yet we don’t always treat them with the care they deserve, especially when cleaning.
For some, car cleaning is a simple case of attacking a dirty vehicle with a bucket, sponge and some soapy water. However, we can inflict terrible damage to the paintwork by following this rushed procedure.
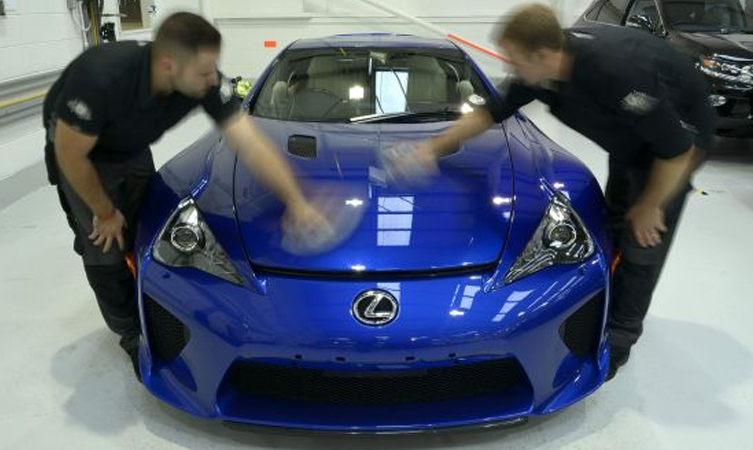
So to show you how to really clean a car – and at the same time reveal some basic paint-correction methods – we teamed up with Richard Tipper and Tom Fish of renowned mobile valeting company Perfection Detailing to produce this step-by-step car cleaning guide.
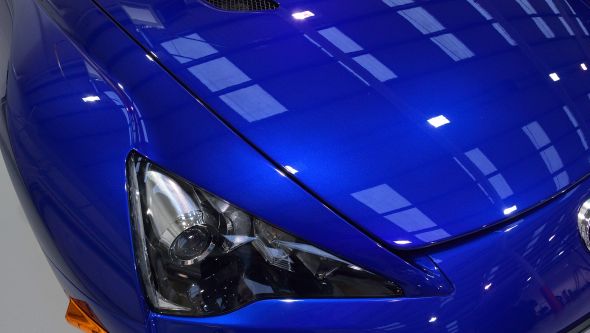
As you’ll see, their efforts made an incredible difference to the subject, our prized Lexus LFA. We have no doubt their expertise will help restore your car to tip-top condition too.
UPDATE 24/09: Watch our ultimate car cleaning video at the bottom of this post.
PREPARING TO CLEAN
The first thing to remember is that cleaning should never take place immediately after a journey, when the paintwork and wheels are hot. Similarly, the car should not be parked in direct sunlight, or positioned under a tree where fallout such as sap could land on unprotected paintwork.
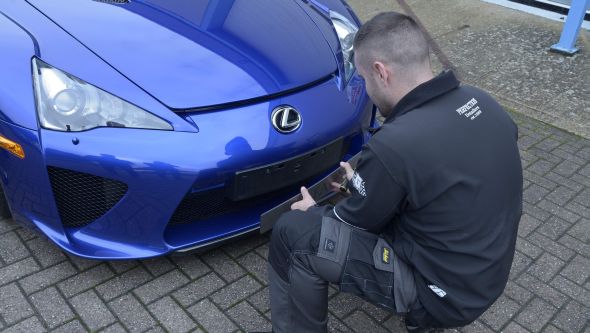
Preparation of the exterior begins by ensuring you can reach normally inaccessible areas. A thorough clean means removing items such as number plates and their plastic surrounds. Some number plates are stuck directly to the paintwork, so be careful not to damage the car if you choose to do this. In the case of our LFA, we also manually raised the rear spoiler to access the bodywork underneath.
Some traditional cleaning products – including acid-based cleaners, leathers and sponges – have been found to cause more harm than good, so you won’t find these items among the arsenal of our professional valeting company. Only modern, pH neutral, de-ionising and citrus-based cleaning products will be used on our car.
ATTACKING THE DIRT
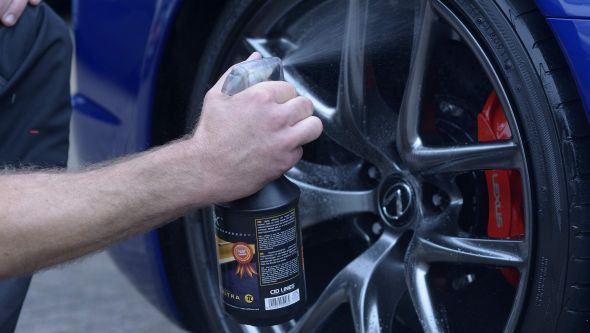
Work should start on the dirtiest areas first. Give the wheels a good spray coating of pH neutral wheel cleaner (Richard uses a specialist de-ionising decontaminant) to break down and lift dirt from the surface. Larger areas can be effectively dealt with using a cheaper citrus-based degreasing solution.
Don’t worry if any overspray lands on the bodywork because pH neutral and citrus-based solutions are harmless to paint. Which is why these same cleaners can also be applied to hidden areas such as behind the fuel filler flap and around the door shuts.
Gently agitate dirty areas with a soft brush to assist in the lifting and suspension of dirt from the surface. Detailing brushes are available specifically for this purpose. A regular paintbrush does the job equally well, though you should cover the metal collar with insulation tape as a precaution against scratching.
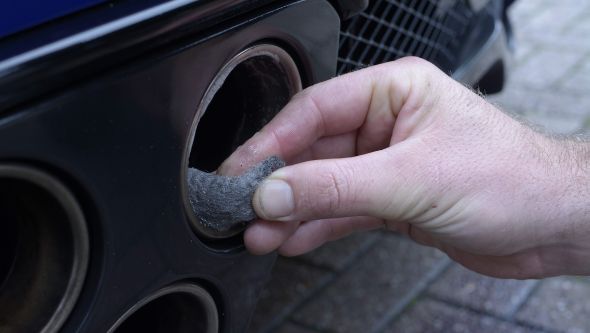
Richard uses wheel cleaner and fine-grade wire wool to carefully restore discoloured and soot-damaged exhaust tailpipes. This combination also works very well on genuine chrome trim, but must not be used on plastic chrome or aluminium, as it will damage the finish.
Now thoroughly jet-wash the the four inner wheel arches, and all areas previously coated with cleaning solution.
Before putting the jet-wash to one side, give the whole car a final blast of water to drive away any loose contaminants from the surface. For the best results, paintwork needs to be as ‘clean’ as possible before moving on to the cleaning process proper.
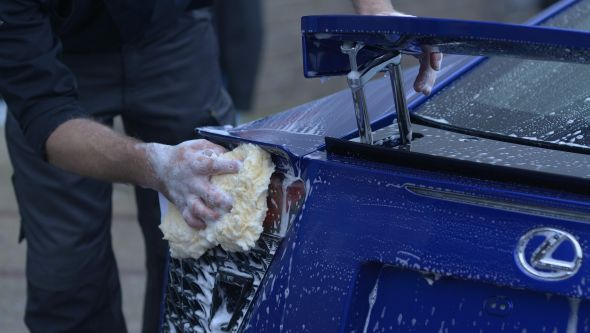
CLEANING THE BODYWORK
Washing the bodywork requires just four things: bucket, water, pH neutral soap and a lamb’s wool wash mitt. Never use a sponge for car-cleaning as it tends to trap dirt, while pH neutral soaps do not strip residual protection from the paintwork. A grit guard can be a useful item to sink into the bottom of the bucket but you can avoid the issue of dragging dirt from the bottom back onto the car by keeping the water level topped up and by only dipping your wash mitt into the top third of the bucket.
Always wash from the roof of the car downwards in order that released dirt only travels in one direction and cannot be reapplied. And if you accidentally drop your wash mitt on the floor, exchange it for a fresh one.

Blast off the soapy water with a jet-wash or open-ended hose. Beading of the water on the surface is evidence of some residual paint protection. Depending on how deep you want to clean, this can either be topped up or replaced entirely after the paint correction steps. If it is the former, skip straight to the ‘Applying Protection’ subheading.
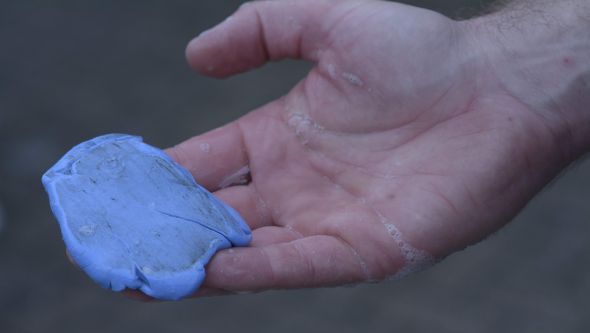
STUBBORN CONTAMINANTS
Tough items such as dead bugs and tar spots may not have been removed in the gentle processes described so far — unseen contaminants can probably still be felt with the palm of your hand — but these can be easily removed by claying the surface. This involves rubbing a special medium-grade clay bar over the paintwork and glass using clean, extra-soapy water as a lubricant (some solvents and detailing sprays can break down the clay).
Work the clay in your hands to warm it through and make it more malleable. Then flatten the bar and rub it backwards and forwards over wet bodywork in straight lines, working once again from the top of the car (cleanest) to the bottom (dirtiest). Lifted contaminants will appear as scuff marks in the clay, and to avoid these being reapplied to the car regularly fold the clay to reveal fresh, clean putty.
Once the whole car has been clayed, blast off any remaing soap with the jet-wash. All residual paint protection is removed during the claying process, so you will notice that water does not bead on the surface any more. Because of this, Perfection recommends not to use clay too frequently — perhaps once or twice a year, or when necessary — and to always follow it up with thoroughly applied layers of paint protection.
Dry the car all over with clean microfibre cloths, preferably ones with scratch-preventing silk sewn around the edges, and try to chase away and mop up any trapped water. High-pressure air lines are brilliant in that respect but there’s nothing to stop you blowing the water away yourself with lungfuls of air.
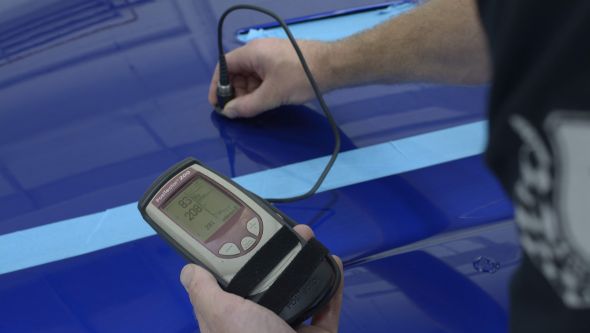
PAINT CORRECTION
Naked paint displays clear evidence of damage, from highly obvious scratches to the less immediately noticeable swirl marks inflicted by careless cleaning regimes in the past. The stage one paint correction that we will be describing now should eradicate the latter and reduce the obviousness of the former. More aggressive levels of correction are available to restore paintwork but we would recommend seeking professional advice first.
Before attacking the surface with a machine-polisher, it’s wise to know how deep the clear coat is that you’ll be working on. Professional detailers should carry two different types: a magnetic depth gauge to ascertain the overall depth of paint on ferrous metals, and an ultrasound depth gauge to ascertain the depth of different layers (especially useful on bodyshells with no magnetic properties, such as our carbon fibre bodied LFA). Understanding these depths helps the detailer know how far the clear coat can be corrected through polishing.
Vulnerable areas of paintwork that rarely need correction, such as door mirror stanchions, should now be protected with masking tape, as should items like headlights, glass, grilles and badges. This will avoid the polishing head accidentally abrading these areas.
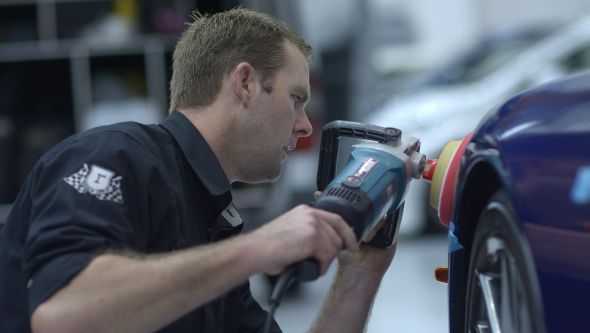
There are a multitude of different pastes and mop heads suitable for machine-polishing but a medium-grade polishing pad allied to a coarse fine-finish paste (much finer than aggressive bodyshop cutting compounds) is perfect for mildly damaged paintwork. Richard also prefers flat polishing pads over dimpled versions so he has greater control over the pressure exerted on the surface.
After applying a few modest blobs of paste on the polishing pad, gently work the rotating mop head backwards and forwards and in straight lines over an area of paint using no more pressure than the weight of the machine. Be sure to keep the mop head moving as the friction generates lots of heat and it is possible to burn the surface. It is equally important not to overwork external-angle swage lines as the paint is much thinner in these areas.
Frequently wipe away the polish residue with a clean microfibre cloth until you have achieved the correct level of paint correction. Remember, you can always add more correction but you can’t remove correction once it’s been applied.
APPLYING PROTECTION
Though the corrective stage involves polishing, this doesn’t mean that the paint has a protective layer on it yet. The application of a glazing coat of pure polish creates the attractive high-gloss shine, while an additional wax layer on top provides the paint with its much-needed protection (a combined polish and wax does both at the same time but not to the same extent).
Both polish and wax is best applied using the same rotating mop head and method described in the previous sub-heading – working in straight lines and with little or no pressure. Areas too tricky for the polishing pad to reach effectively, such as door shuts and colour-coded door mirror casings, should be tackled by hand. The paste should be applied sparingly to a microfibre cloth and applied using a circular motion.
The residue of each protective layer should be removed using clean microfibre cloths before the application of the next, making sure to wipe in straight lines following the shape of the panel.

The final exterior treatment is to spray a coat of silicone over the tyres to keep them nourished and protected. Leave the spray to dry naturally for a glossy finish, or wipe them down after spraying with a microfibre cloth for a more subtle satin finish.
MOVING INSIDE
In contrast to the exterior, cleaning the interior of your car is much more straightforward but does require a little more drying time.
Begin by giving the inside a good vacuuming, followed by capturing the dust from the dashboard and trim with a damp microfibre cloth. High-pressure air can be used to release trapped debris, while paintbrushes are good for cleaning air vents.
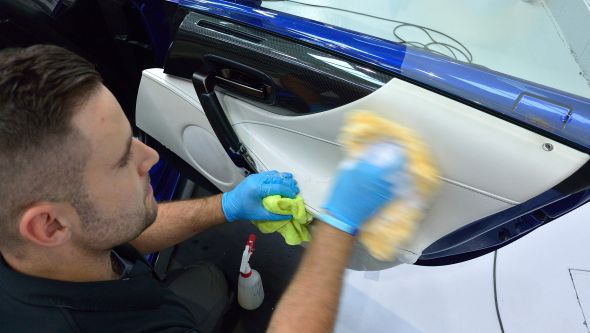
The leather seats in our LFA required a four-stage cleaning process. First, a leather cleaning solution applied with a microfibre cloth is used to gently agitate the dirt and bring it to the surface. This dirt is then washed away with a lambs wool wash mitt thoroughly dampened with soapy water. The thought of putting moisture on leather might appear shocking to some but as long as the mitt is not sopping wet and you steer clear of electrified items such as locks and electric seat adjusters there should not be an issue.
After the seat has been left to dry for a time you can tackle the third process – an anti-bacterial solution. Applied once again with a microfibre cloth, this will ensure the leather is clean on a deeper, micro-biological level.
Just as cleaned skin needs to be moisturised after washing, so does the essentially identical product of leather. So the fourth and final seat treatment process is to apply a conditioning solution to moisturise the leather and stop it drying out.
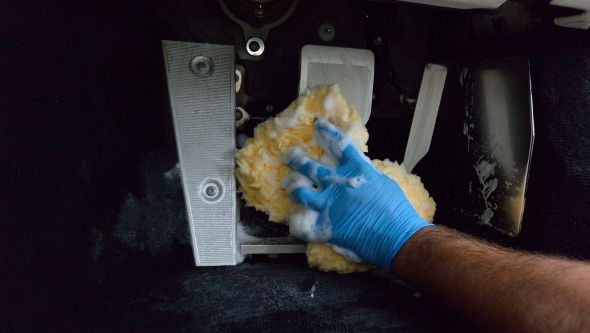
Carpets and foot pedals can get extremely dirty and are best tackled with wet products. Gently agitated citrus-based carpet cleaner will help lift dirt from within the carpet pile, while soapy water and a work-over with a toothbrush will effectively clear foot pedals of all ingrained dirt. A wet-vacuum should then be used to suck up the dirty cleaning fluid from the carpet.
Before congratulating yourself on a job well done, the final task is to clean the windows. There are hundreds of window cleaning products available but Richard prefers the simplest solution possible as he’s found it to be the most effective. He simply wipes the windows over with a damp microfibre cloth and then immediately dries the glass with a dry microfibre cloth.
DON’T FANCY DIY?
Having explained the surprisingly in-depth approach needed to do deep-clean car cleaning, it’s evident that the traditional weekend ‘quick clean’ might now possibly be a cause for concern. However, with this step-by-step guide (and its accompanying Twitter feed – search #MintLFA) we aimed to expose the secrets and help Lexus owners produce professional quality results. But if that still seems too much hassle, you could always do what we did and employ Richard and Tom of Perfection Detailing to come and do the job instead!


Wow, what attention to detail. I love the bit on how you clean your wheels, I always find gunk in there and need to find a better way of cleaning.
Thanks for the post!
Julian
Awesome write up and who better than Richard Tipper to illustrate the ins and outs of detailing a lexus lfa. I had the pleasure of detailing 1 of only 3 LFA’s here in South Africa. This was truely one of my most rewarding details I have carried out.
Well done Richard & Tom, couple of pointers which I can try next detail.
Purchased a 2013 Lexus IS 250 a couple of months ago, thanks for the tips and lesson on how to clean it!
I will use this as my guide on my new pride and joy!
Can you tell me which product brands you use/recommend for both interior/external and wheels – I have a CT200h with Takumi leather
Hi Ian, thanks for your comment.
We hope your CT is doing well. We do not have an affiliation with a particular brand, your local Lexus Centre may have cleaning sets available for purchase.
Thanks,
Lexus UK