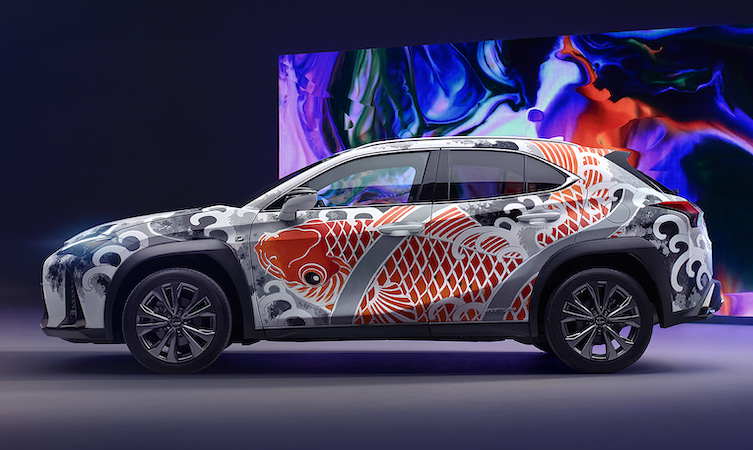
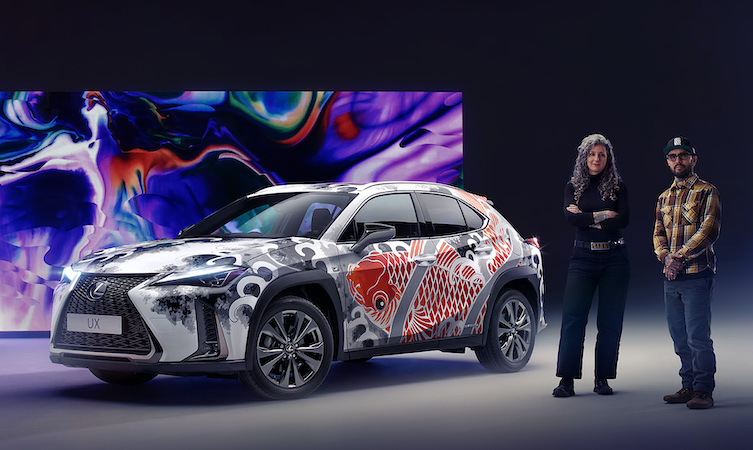
Would you ever scratch your car on purpose? It took five days for tattoo artist Claudia De Sabe, and her husband Yutaro, to apply the striking, Japanese-inspired design to a Lexus UX and create the Tattoo Car.
That’s not to mention the months of planning and research beforehand to ensure that authentic tattooing techniques and the appropriate tools were used to create this very special Lexus. Here’s the step-by-step guide to how we made the world’s first tattooed car.
Disclaimer: The Tattoo Car was produced by trained professionals, in a controlled environment, using safety equipment. Please do not try this at home.
Step one: find your artists
There are thousands of tattoo artists out there but, for us, there was only one choice: Claudia De Sabe. Very much an artist in her own right, the Italian has more than 15 years’ tattooing experience and has worked in several other disciplines, including graffiti, painting and engraving. Claudia and her husband Yutaro are based at the Red Point Tattoo studio in London.
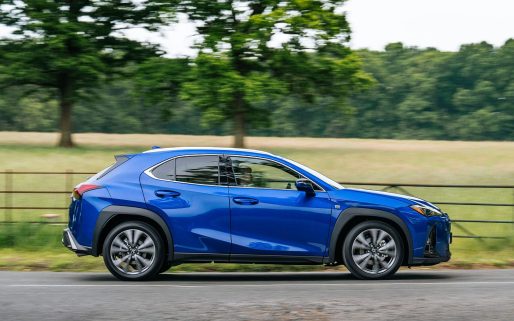
Step two: Choose a blank canvas
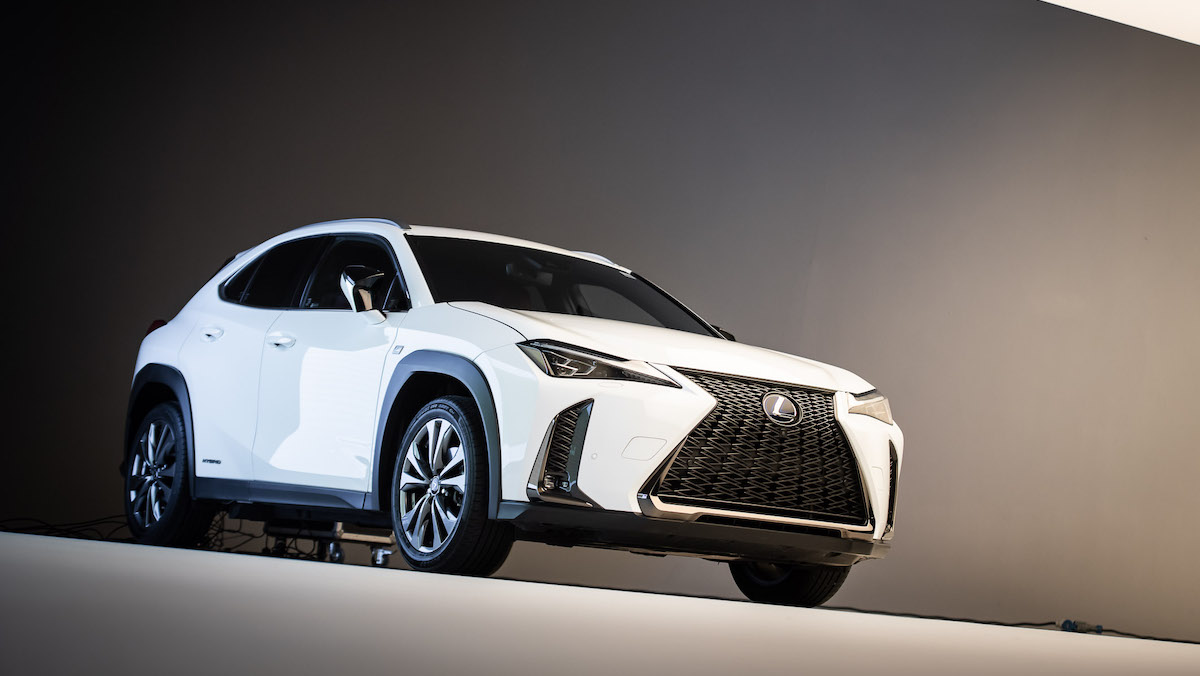
There are so many great looking cars in the Lexus range it was difficult to choose which car to tattoo. Should it be the RC? Or what about the ES? In the end, we settled on the Lexus UX 250h compact SUV. “From the lines on the side of the body and the shape of the windows, everything is just so dynamic and beautiful. It was a perfect fit for the design and the concept itself”, says Claudia.
Step three: practice makes perfect
We had a good idea of the methods we wanted to use, but before letting the tattooists loose on our Lexus UX, we decided to put them to the test first. So, we found an old bonnet from the garage to practice on. Using a Dremel and car paint, Claudia etched a carp and waves into the bonnet. This formed the basis for the tattooed car’s final design.
Step four: refine your design
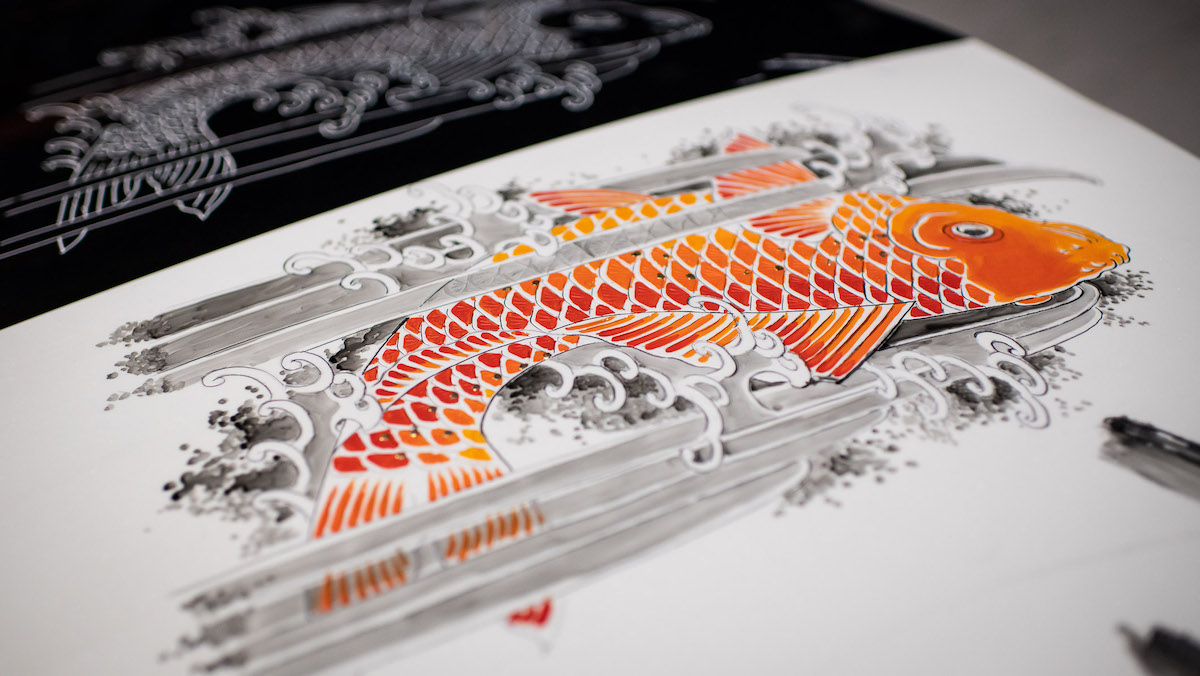
The design itself features a koi carp and one side and two goldfish on the other. The artwork itself was inspired by ancient Japanese artworks and ukiyo-e, a style of woodblock print and painting that popular in the Edo period (1603 – 1868) and is commonly used in Japanese tattooing.
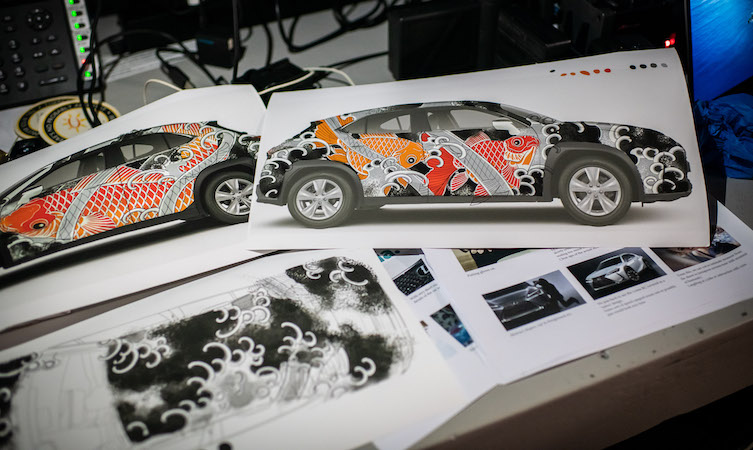
The layout of the design was very carefully considered, because Claudia had to ensure that the design fit with the shape and contours of the Lexus UX, while also taking into account where the doors and boot would open and close.
“To accentuate the lines of the car, I used the natural way that the koi would swim and made it so that the tail would end up kind of wrapping up around the back window and onto the roof,” says Claudia.
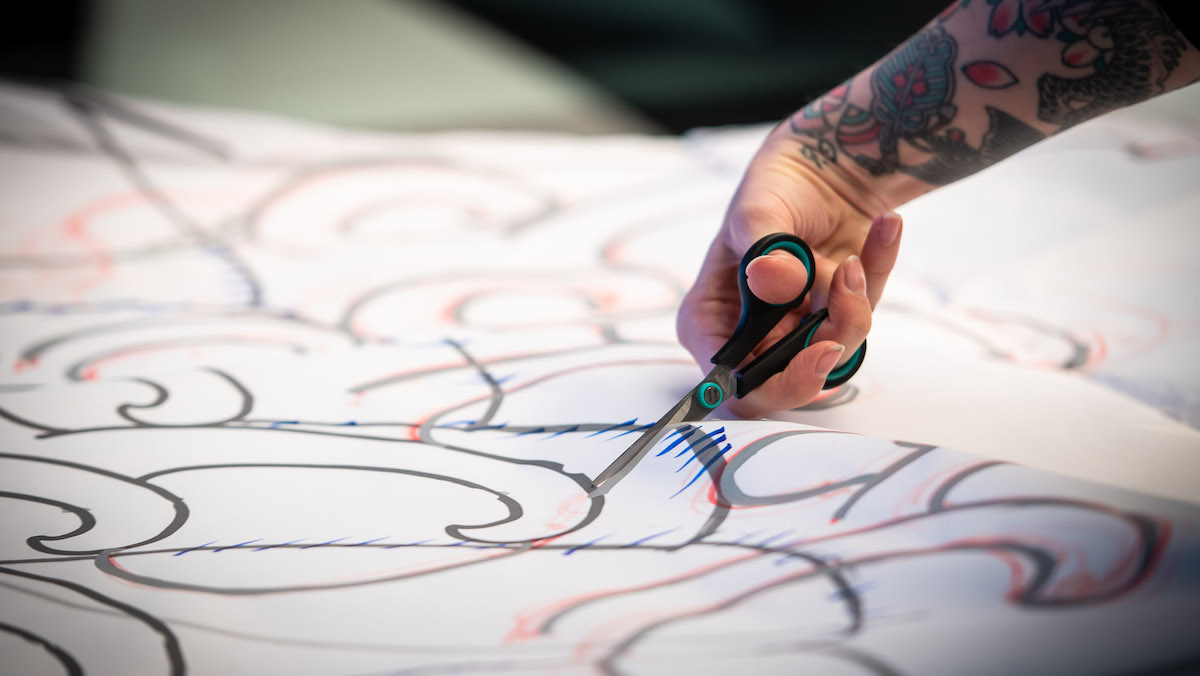
Step five: start scratching
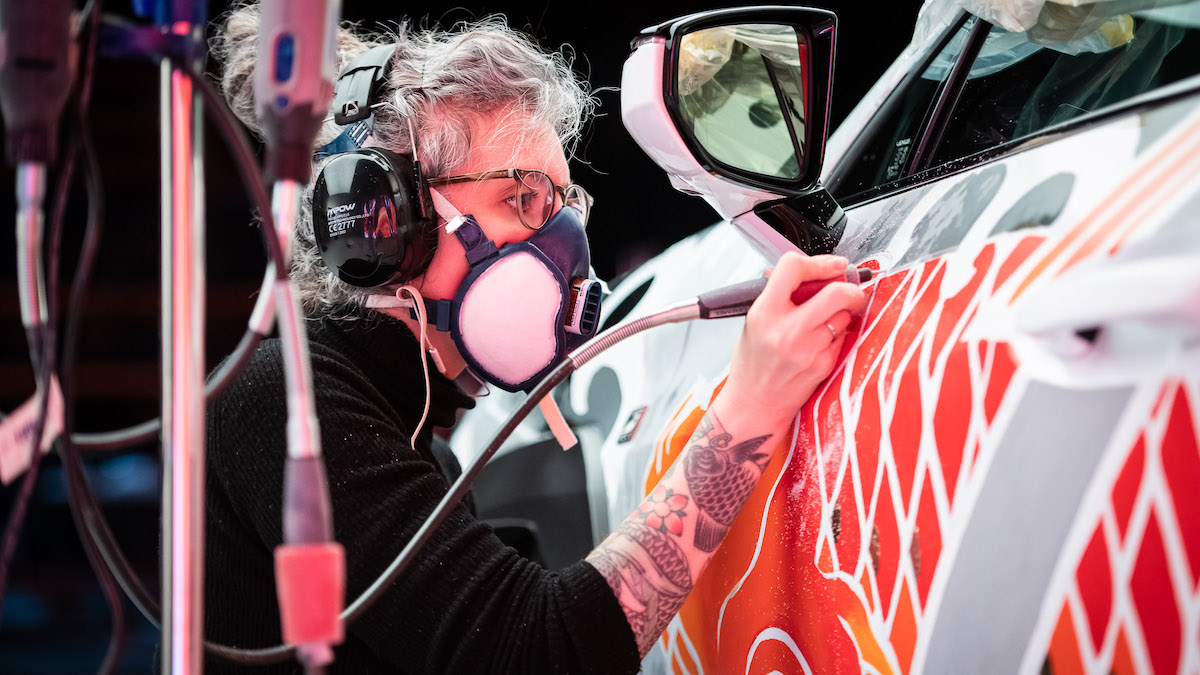
After stenciling the design onto the car, Claudia and Yutaro began to scratch away the paint to reveal the metal bodywork underneath: “We like the idea of scratching the car, but to do something beautiful,” said Claudia. They achieved this using four Dremel drills, specially modified with the grips from tattoo guns not too dissimilar from the ones they use in their studio. Both wore safety masks and ear defenders to protect themselves from the potentially harmful dust from the paint and the high-pitched noise from the drilling.
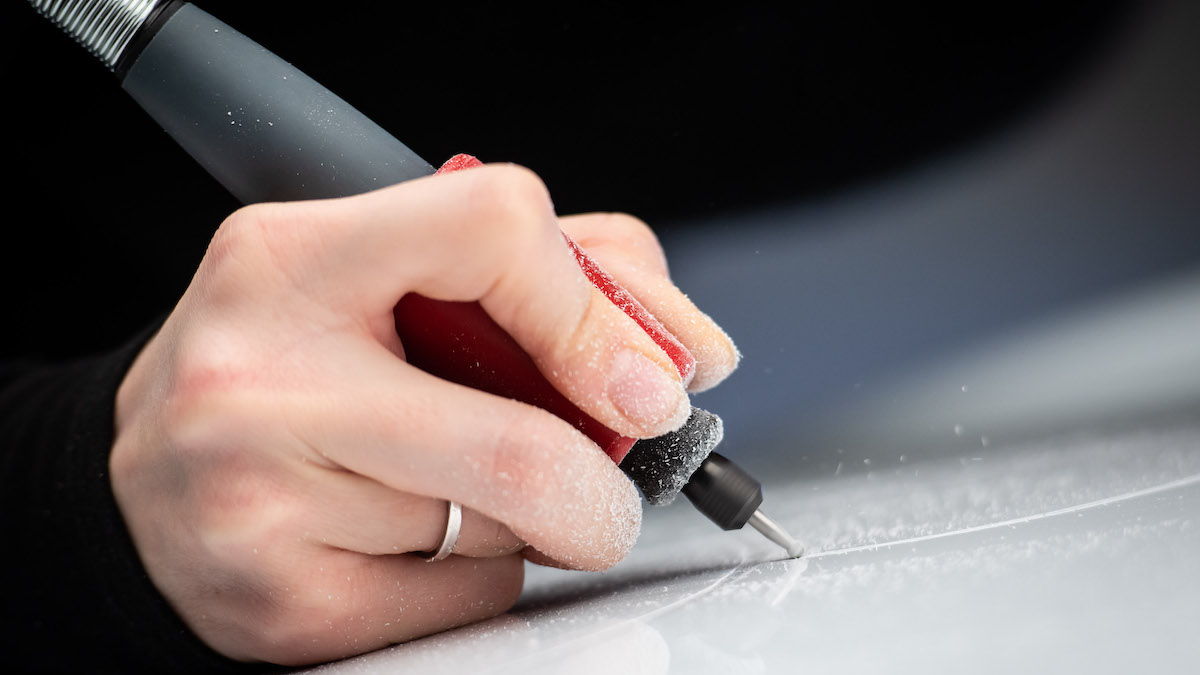
The bare metalwork formed the outline of the waves and the koi carp. Although Claudia started engraving initially, in the end it was better to alternate engraving with painting because the process was so physically demanding: “When you’re working with a Dremel onto a car’s body, there’s no softness to it, it’s just metal on metal.” It was actually more difficult for Claudia to engrave the bonnet than the sides of the car, because the paint there is thicker to protect against stone chips.
There was also very little margin for error, as Claudia explains: “It was very scary! I was definitely more stressed about tattooing the car than tattooing a person. With a human tattoo it’s relatively easy to correct a mistake, by expanding a line or adding more colour. With a car tattoo there’s no correction allowed; once the colour is scratched out of the car you can’t fix it.”
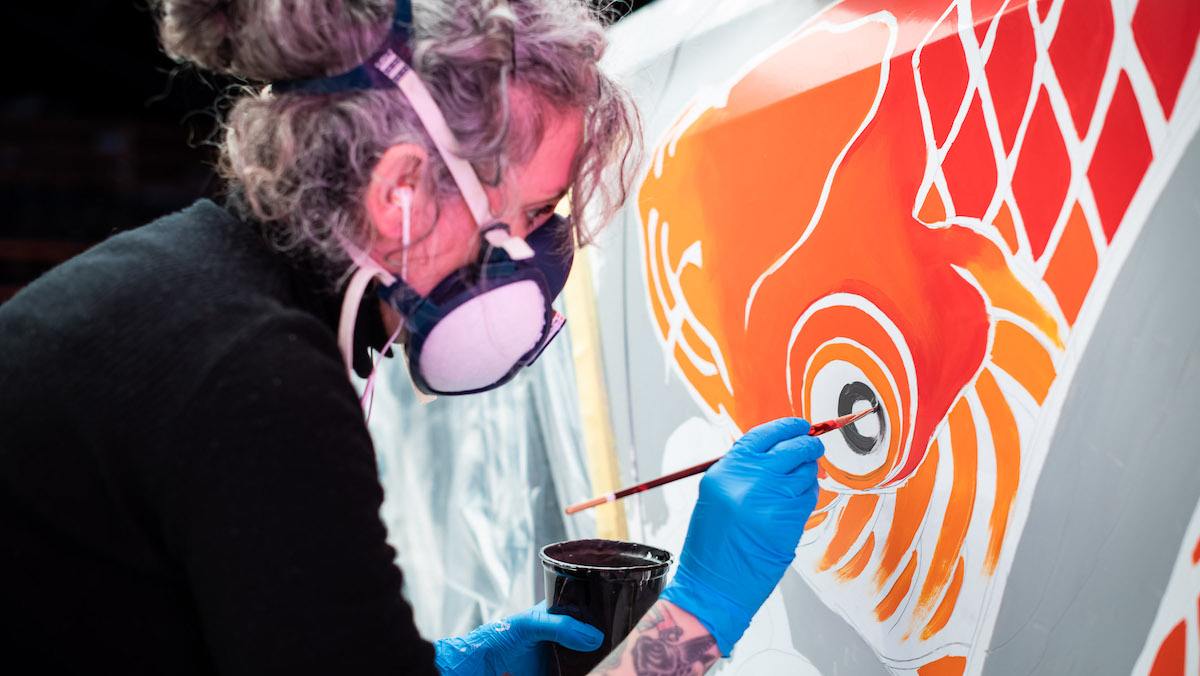
Step six: add a splash of colour
Five litres of paint were used to decorate the koi carp, goldfish and waves. This wasn’t just any paint, though, it was genuine Lexus paint. More specifically, Solar Flare orange, Fuji Red, Sonic White and Velvet Black.
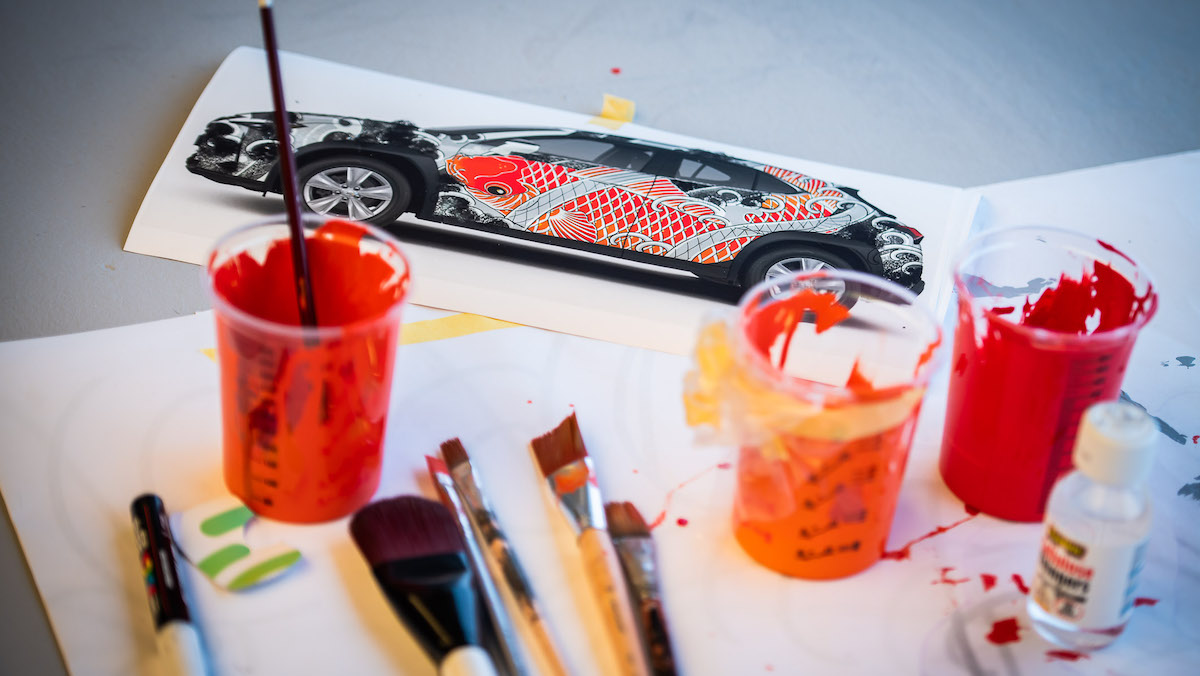
These paints were mixed together in order to create various colour tones. The paint was applied using special high-quality brushes.
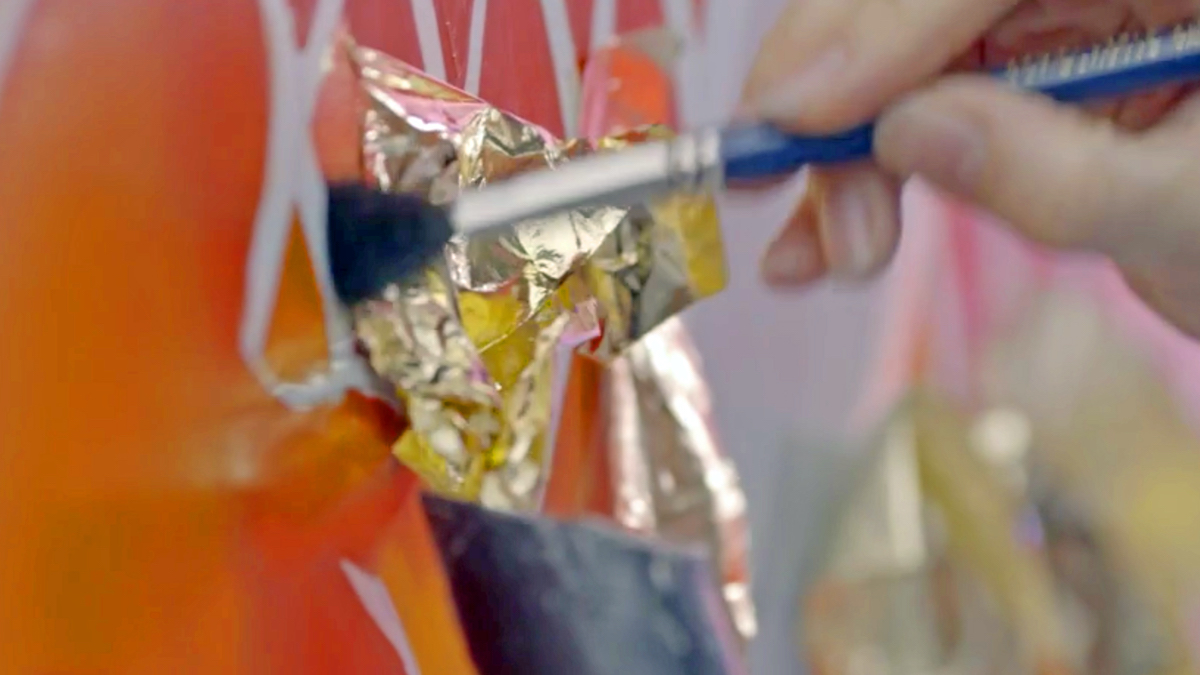
Step seven: the finishing touches
To add an extra bit of sparkle and a 3D element to the Tattoo Car, Claudia applied gold leaf to the scales in the koi carp.
After that, the whole car was completely lacquered to protect the design for damage and to ensure that this tattooed Lexus UX remains forever unique. If you wanted to recreate this on your own car, it would cost you around £120,000.